Jelly Stickers
Regular price
Unit price
per
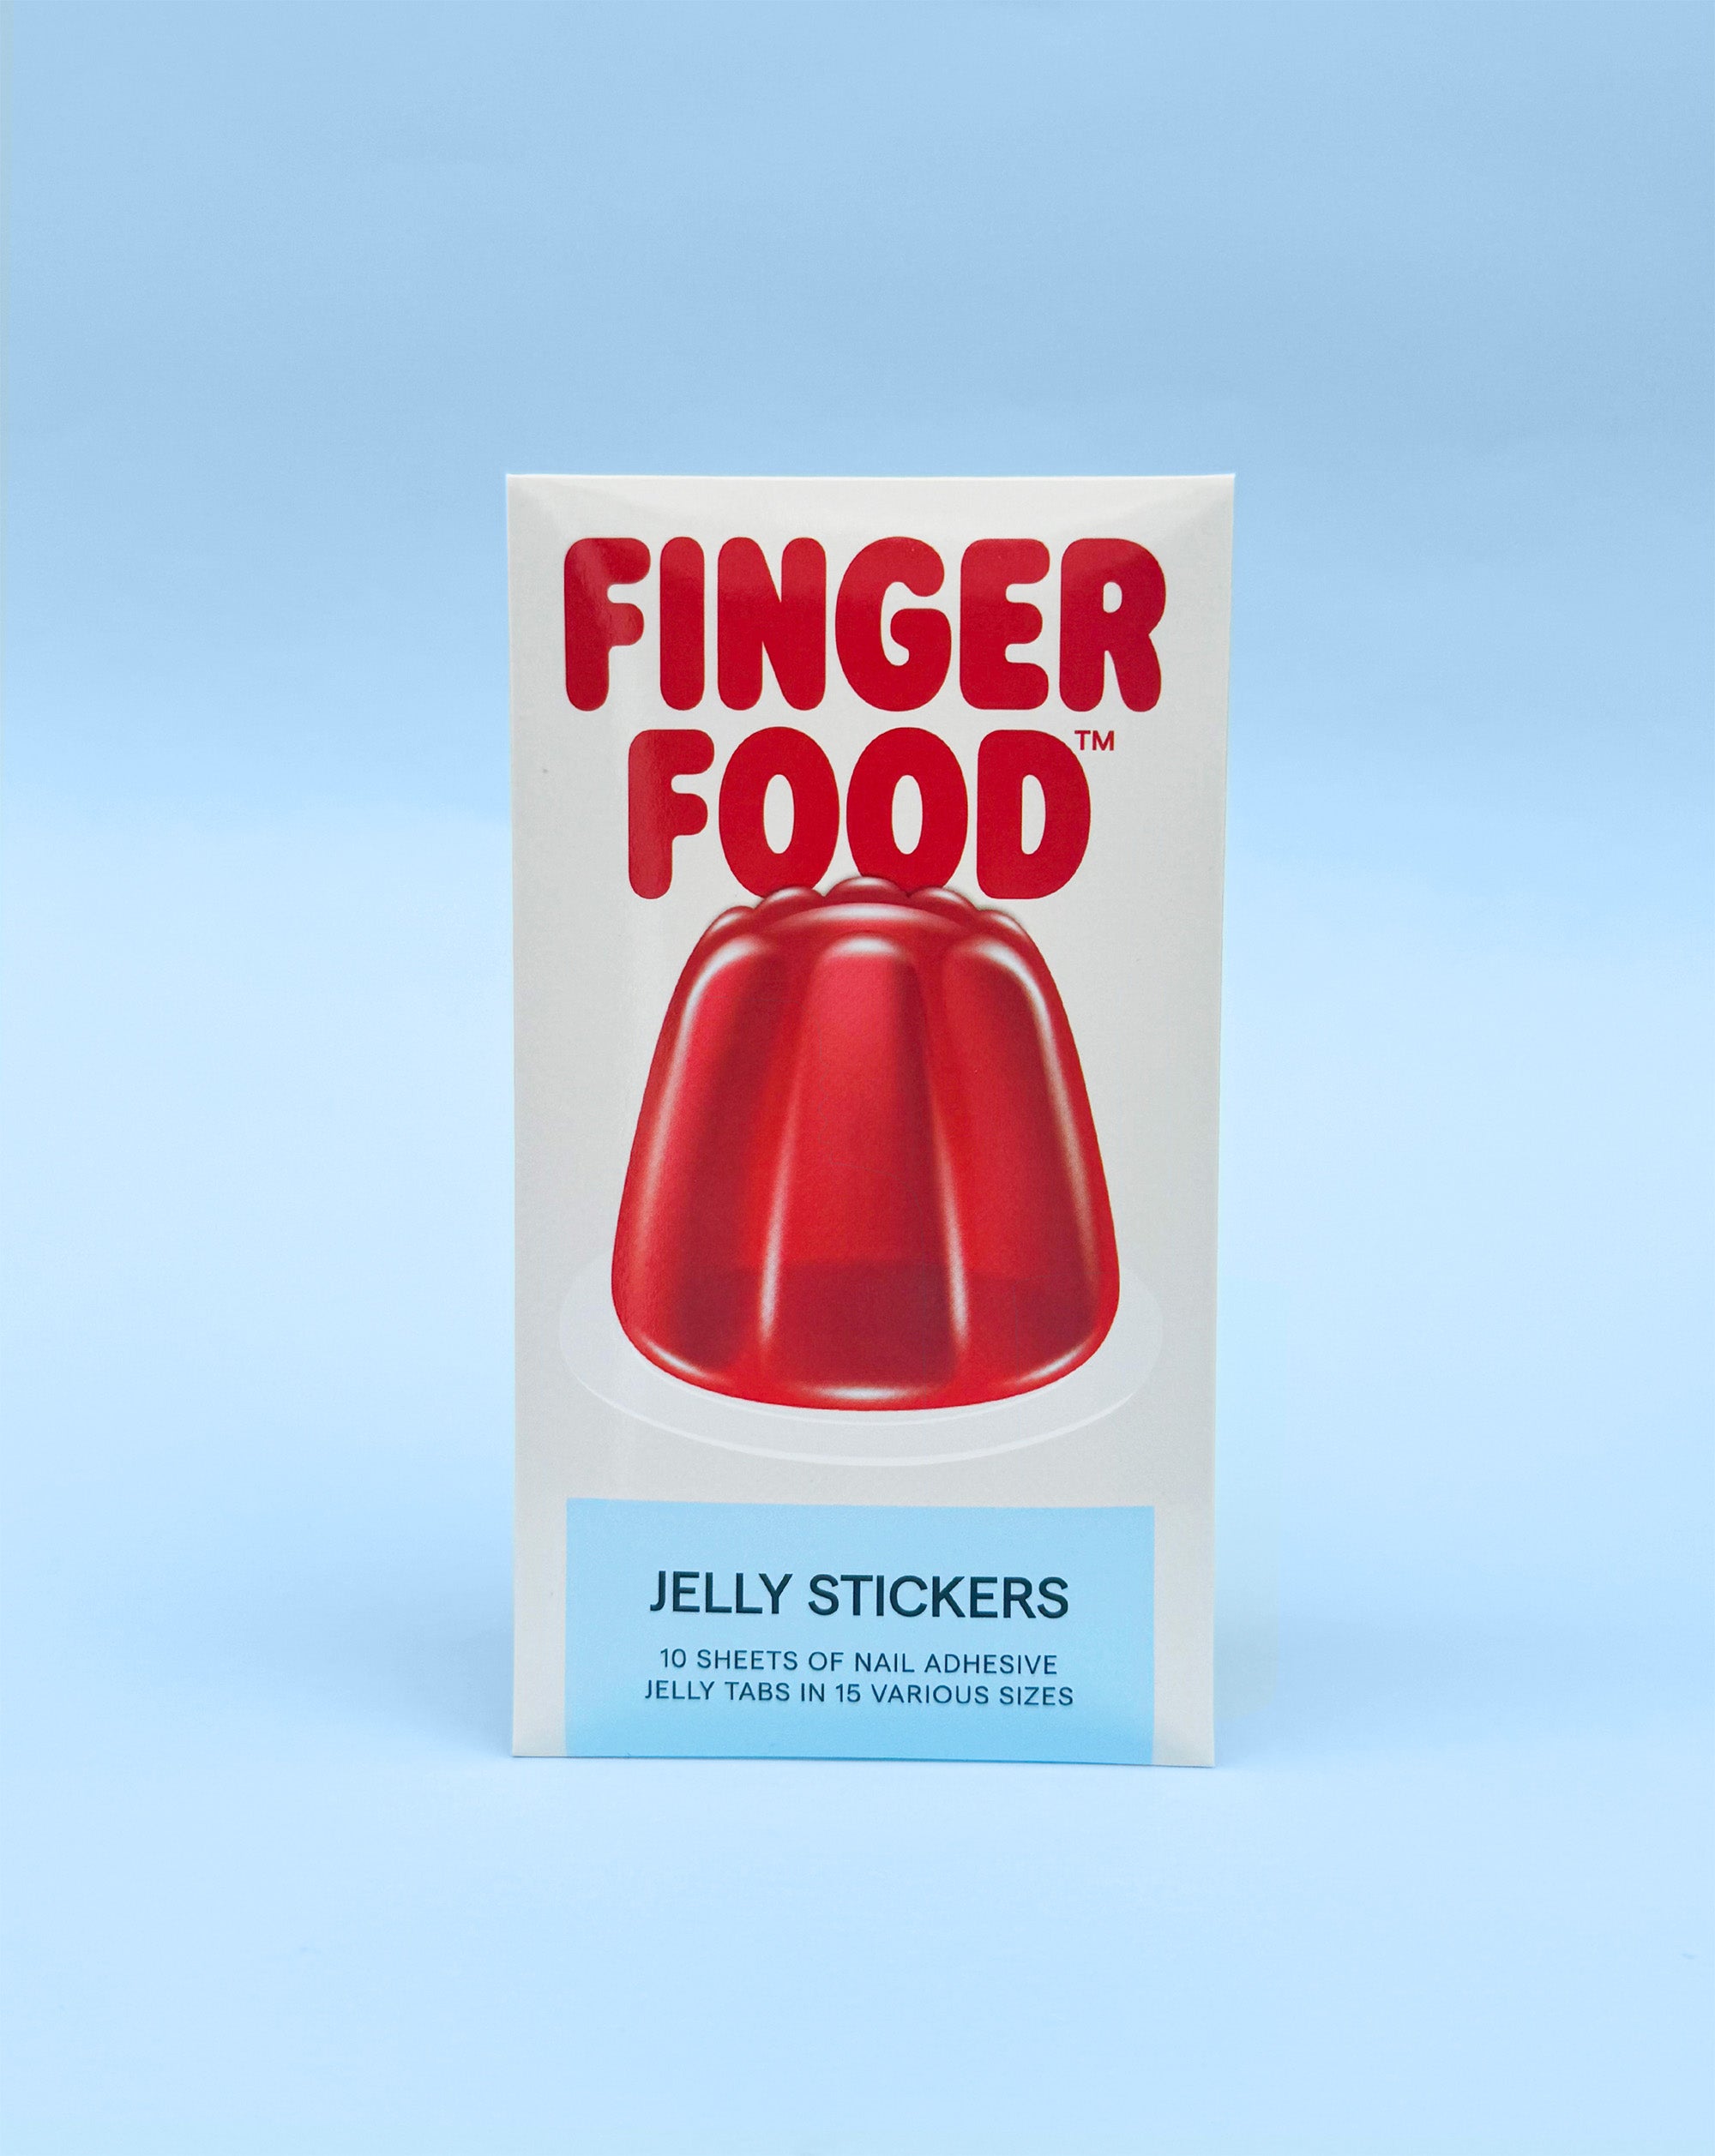
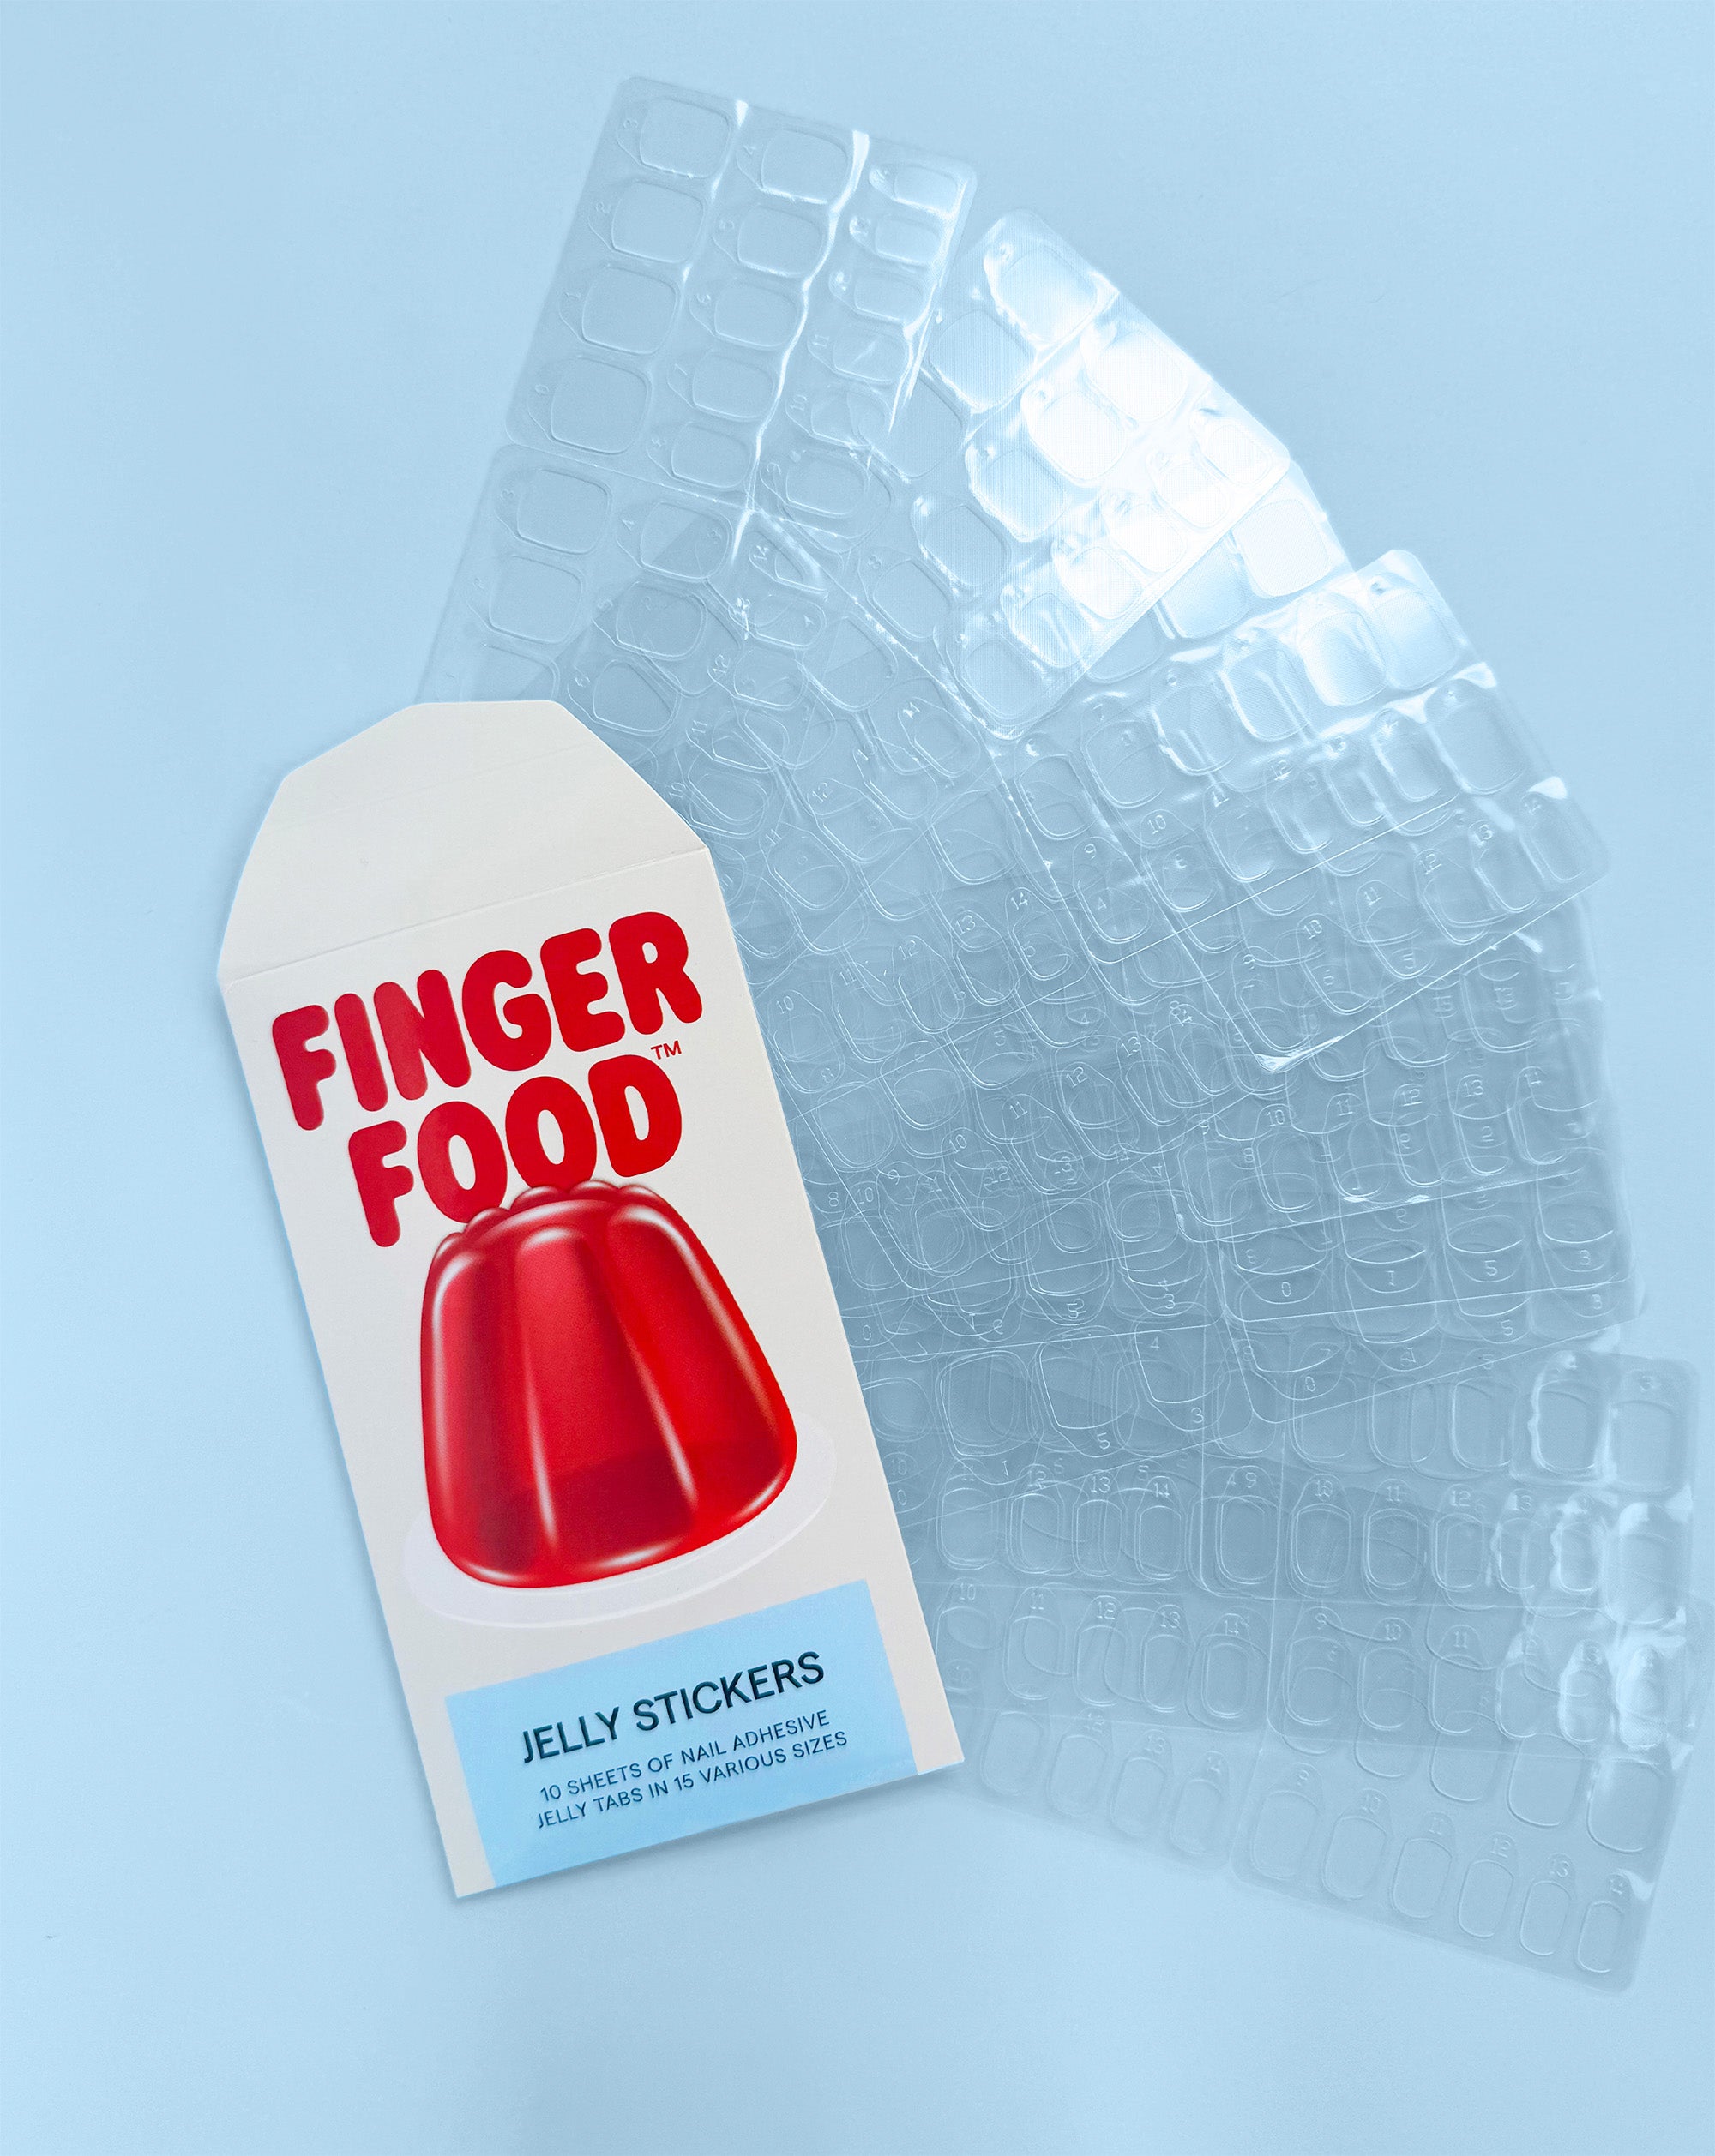
Get ready to serve looks with ease using our Jelly Sticker adhesive tabs! Perfectly designed for nail lovers who crave flexibility without the fuss of glue, these double-sided adhesive tabs are the ultimate snack for your press-on nail game.
-
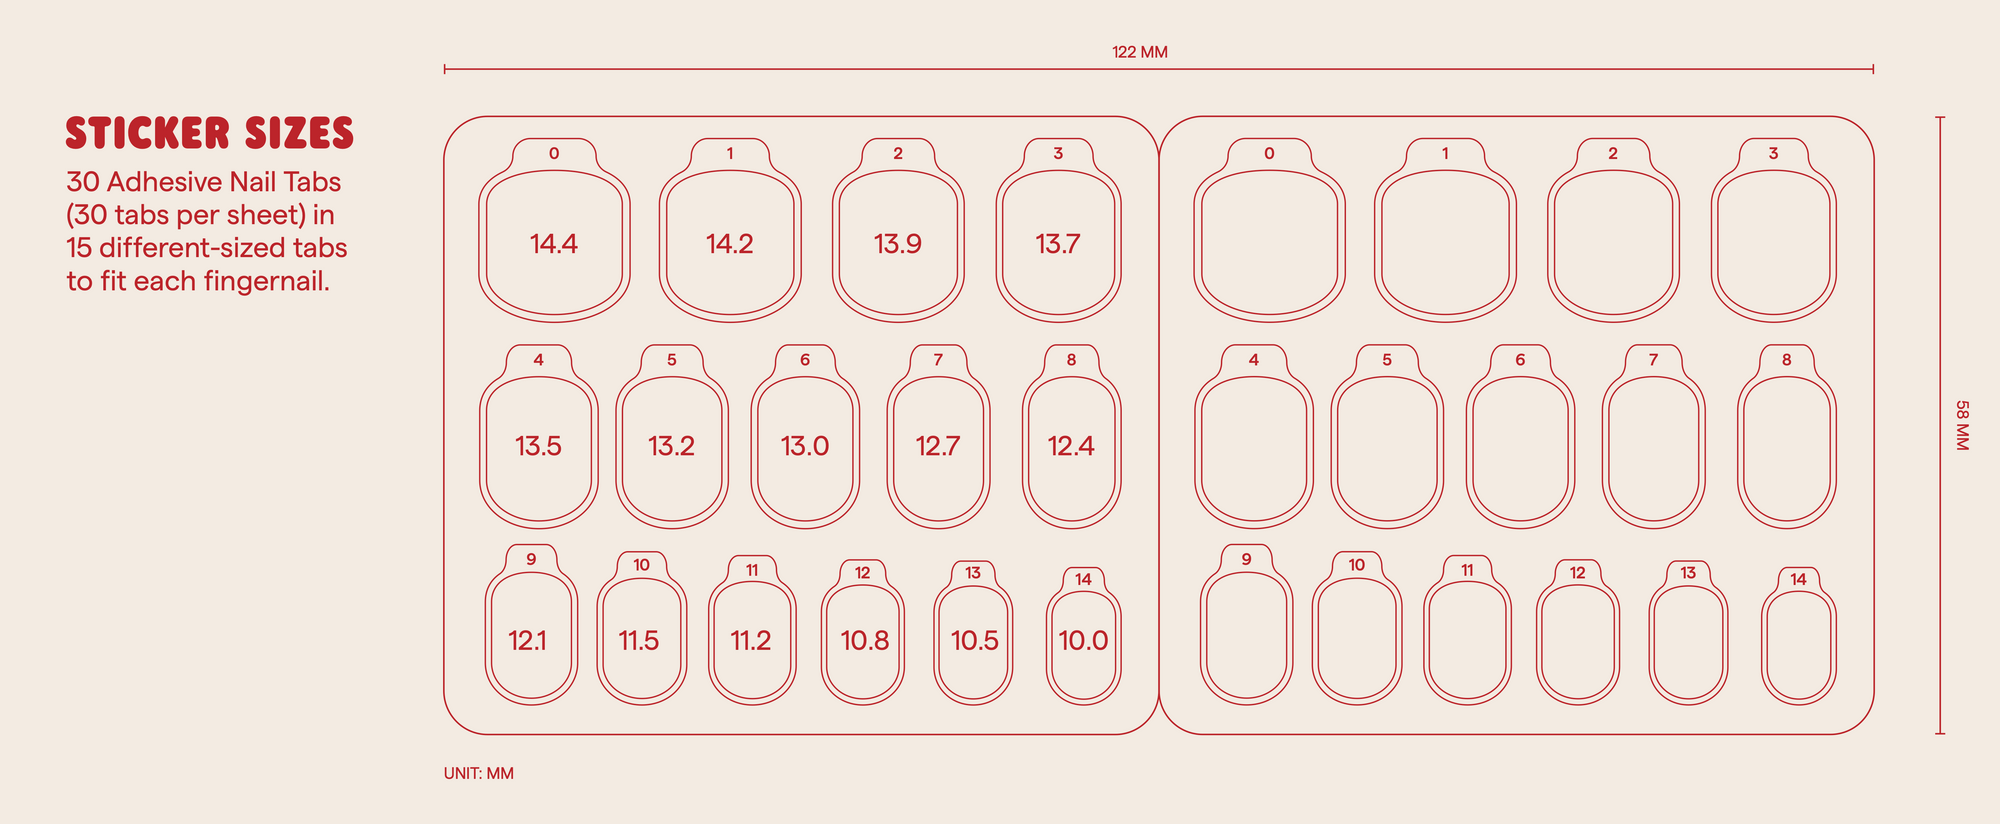
10 Sheets Per Pack – That’s 300 adhesive tabs, ready to stick with you!
-
15 Different Sizes – Custom fit for every fingernail, from pinkies to thumbs.
-
Reusability Made Easy – Ideal for press-on reapplications or short-term wear (2–4 days).
- Mess-Free & Gentle – Skip the glue and enjoy a clean, easy application with no nail damage.
Features
Features
- 10 Sheets Per Pack – That’s 300 adhesive tabs, ready to stick with you!
- 15 Different Sizes – Custom fit for every fingernail, from pinkies to thumbs.
- Reusability Made Easy – Ideal for press-on reapplications or short-term wear (2–4 days).
- Mess-Free & Gentle – Skip the glue and enjoy a clean, easy application with no nail damage.
Delivery
Delivery
- Standard Shipping (AU): $9.99 [Estimated delivery time: 5-7 business days]
- Express Shipping (AU): $14.99 [Estimated delivery time: 2-3 business days]
- Standard Shipping (NZ): $12.99 [Estimated delivery time: 5-7 business days]
- Standard Shipping (USA): $24.99 [Estimated delivery time: 7-20 business days]
- Other International: Please contact us at hello@shopfingerfood.com
- Free Shipping: On orders over $79.99 AUD or $99.99 NZD
Removal
Removal
Hot Tips to safely remove press-on nails without causing damage;
- Prep: Begin by soaking your nails in warm, soapy water mixed with a bit of oil for about 10 minutes. This helps to loosen the adhesive.
- Loosen: Gently try to lift the edge of the nail and apply a glue debonder or cuticle oil to help to help loosen the adhesive.
- Gently Pry: Using an orangewood stick or a toothpick, carefully pry the edges of the press-on nails. Start at the nail bed and slowly lift the press-on nail away from your natural nail. Ensure you use gentle motions to avoid any damage.
- Using a Slider: Use a tooth placker as a slider under the edge of the press-on nail to lift it gently from the nail bed. This method is less abrasive and helps in minimising nail damage (personally, I love this trick!)
- Adhesive Removal: Once the nails are removed, you may notice some residual adhesive. Lightly buff your nails or apply a cotton ball soaked in nail polish remover to dissolve any remaining adhesive.
- Nourish: Finally, apply a nourishing oil or cream to your nails and cuticles. This step is crucial for maintaining healthy, strong nails after the removal process.
These steps will help ensure a safe and effective removal of your press-on nails, preserving the health of your natural nails.
